Summary:
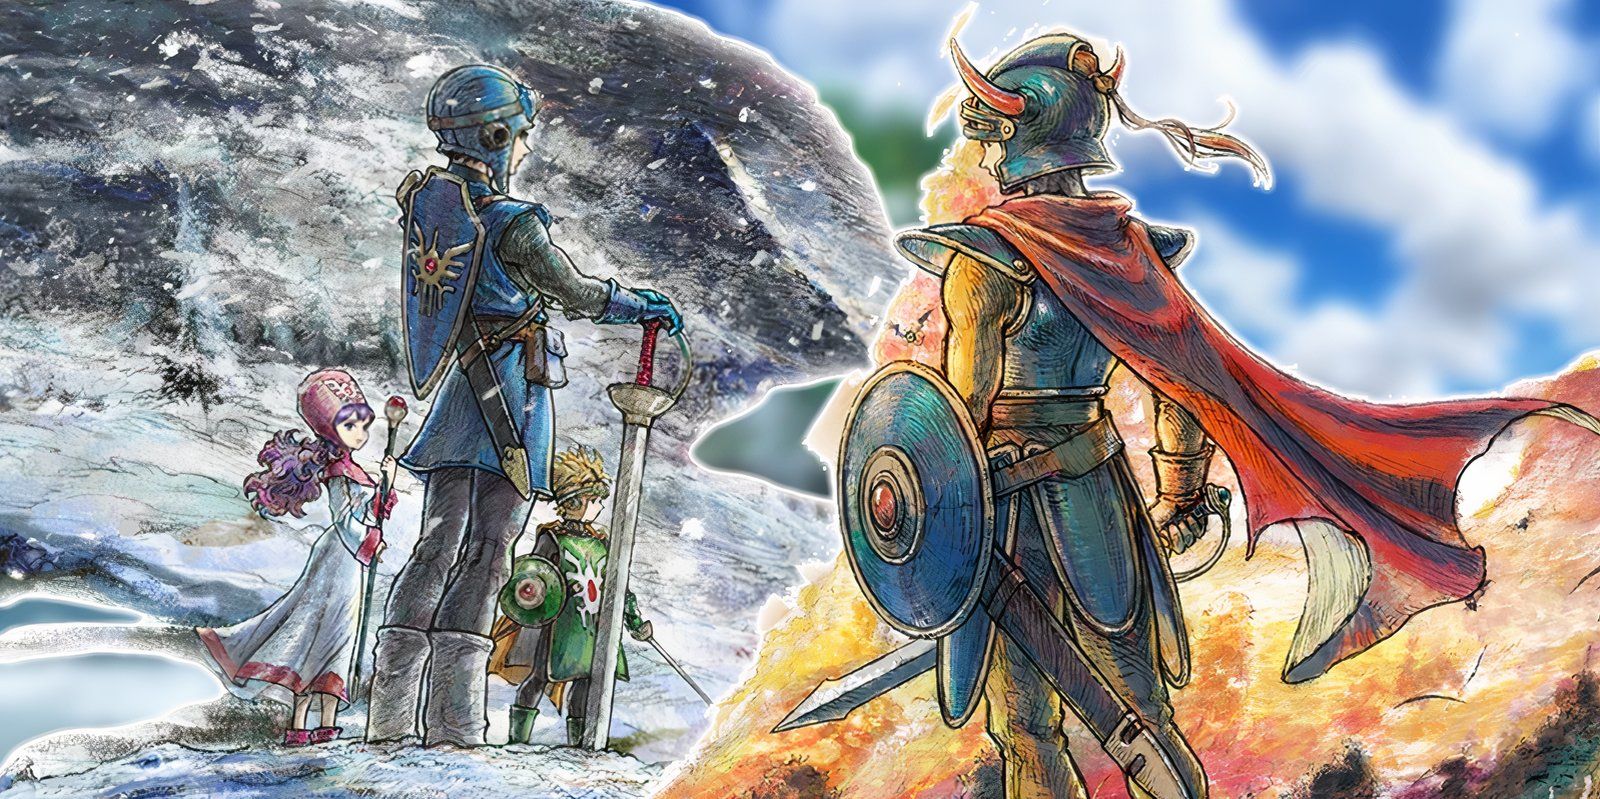
Dragon Quest I & II HD-2D Remake keeps the heart of the classics but adds an auto-battle that changes how we move through random fights. Used well, it saves time, keeps the pace, and turns leveling into a smooth rhythm. Used blindly, it can walk a party into a wipe. The creators themselves hint at the sweet spot: lean on auto-battle to grind, then take the reins when bosses or nasty elites show up. That’s our starting point. We’ll show how to set tactics that stop wasteful actions, where to level early, what gear matters most, and how to prep for bosses without over-farming. We’ll also cover MP control, status mitigation, and item habits that auto-battle often overlooks. The goal is simple: spend less time repeating easy fights and more time landing clean wins in the battles that actually matter. If you’ve bounced off grinding before, this approach makes the climb lighter—without dulling the thrill of a tough boss going down.
What auto-battle changes—and what it doesn’t
Auto-battle doesn’t turn Dragon Quest into a spectator sport; it trims the routine actions that experienced players repeat by muscle memory. Think of it like cruise control on a highway: fantastic when the road is straight, but you still handle the wheel on sharp turns. The system resolves basic encounters quickly, applies tactics, and keeps the grind from dragging, especially when you’re pushing a level threshold or topping off gold for a key weapon. What it doesn’t do is read the room like a human—auto-battle can’t predict a rare crit chain or the moment you must switch to single-target focus to stop a healer from stalling. It also won’t plan MP usage across an entire dungeon run or pre-empt a status ailment before a boss’s scripted opener. That’s why blending automated clearing with timely manual interventions gives the best of both worlds: momentum without losing control.
When auto-battle shines during leveling (and how to set it up)
Auto-battle thrives in zones where enemies fall in one or two rounds, experience is steady, and status effects are rare. In those lanes, it’s faster, safer, and less mentally taxing. To get there, set tactics to emphasize single-target focus for fragile enemies, while allowing limited AoE only if it reliably ends encounters in one cast. Keep “no waste” rules: conserve MP below a threshold, prioritize regular attacks when enemies’ HP is low, and never use revival items unless manually ordered. Adjust equipment to bump agility on your fastest character so they act first and clean up stragglers. Finally, carry a safety stack of healing herbs and antidotes; auto-battle tends to delay item use compared to manual play, so having cushion HP from better armor and a bit of passive regen (where available) keeps the script on rails.
The red line: moments you must go manual to stay alive
There are hard signals to grab the wheel. If a fight opens with multiple casters, swap to manual and delete the most dangerous spell user first. If you see stacking poison, sleep, or paralysis, take control before the battle snowballs. When a boss opens with a scripted debuff or high-damage nuke, manual is non-negotiable—you need targeted buffs, smart guarding, and precise item timing. Another red line: when two or more party members fall under 40% HP simultaneously. Auto-battle often heals the lowest target but fails to stabilize the group; manual triage lets you defend, spot-heal, or pop a clutch buff to reset the tempo. Treat these as tripwires: any one triggers a manual takeover until the field is stable again, then hand it back to auto if the fight returns to routine patterns.
Building a party that “feeds” auto-battle smart choices
Auto-battle looks brilliant when the party comp removes guesswork. You want clear roles: a bruiser who ends fights quickly, a controller who shuts down dangerous targets, a support who patches damage without burning all MP, and a flex slot that adapts. Prioritize weapons with reliable hit rates and no fussy conditional procs. In armor, favor steady mitigation over niche resistances in general zones; swap to resistance pieces only when a region is notorious for one status or element. Accessories are where you turbocharge consistency—agility boosts, crit resistance, or ailment wards flatten randomness so the script doesn’t choke. When you do this, auto-battle’s decisions align with your intent more often, making it feel smart not because it predicts, but because you’ve removed the bad options.
Tactics settings that prevent silly mistakes
Think in guardrails. Set “Conserve MP under X%” where X matches the distance to your next rest point; 40–50% is a good start in early dungeons, rising to 60% in long treks. Define “Prioritize finishing blows with basic attacks under Y% enemy HP,” where Y is roughly two average weapon hits. Restrict multi-target spells unless they end the fight in a single cast; wasting two turns to soft-damage a pack is slower and riskier than deleting one monster at a time. Toggle “No revive on trash mobs” so you don’t burn precious items after a fluke crit. Finally, set “Auto-defend if two allies are red HP” to buy time; it often converts a wipe into a manageable heal cycle you can take over manually.
Efficient early-game leveling routes in Dragon Quest I
Start just outside the first town’s safe radius and expand outward in rings. Clear the beginner fields until two-shot kills become one-shots, then step into the next risk tier. Use auto-battle here to farm briskly; the goal is to reach the level where your defense negates chip damage from common mobs. Once you unlock stronger gear in the next town, route a loop that ends back at an inn so you never run dry. Avoid swamps or zones with frequent poison until you can stock curatives without draining your wallet. As soon as you notice auto-battle taking longer than two rounds or spending MP too freely, you’re either in the wrong zone or under-geared. Step back a ring, upgrade a weapon, and return—time saved now pays off later when bosses fall without detours.
Efficient early- to mid-game leveling routes in Dragon Quest II
Because Dragon Quest II spikes faster, put more weight on mitigation before pushing new regions. Chart loops that hit two or three safe fights, then a heal, and repeat. Use auto-battle for the loops, but swap to manual if a pack includes a status caster or a high-crit bruiser. As your party grows, stagger upgrades rather than buying everything at once; a single big weapon on your main damage dealer often shortens fights more than minor armor bumps across the team. Watch encounter compositions: if two enemies can inflict the same nasty ailment, you need immunity gear or a different loop, otherwise auto-battle can’t keep pace and you bleed items.
Boss preparation: a practical checklist you can reuse
Preparation reduces “gotcha” moments. First, confirm your damage floor: in test fights, your main attacker should deal reliable chunks without burning rare items. Second, lock in status answers—antidotes, wake items, and a backup heal plan if your primary healer gets locked down. Third, define an opener: buffs or debuffs you’ll apply before the boss can snowball. Fourth, plan for variance: two revival items minimum and one emergency defensive option, whether that’s guarding on a predictable nuke turn or a mitigation spell. Finally, rehearse the first three turns mentally; if you can’t describe them clearly, you’re not ready. When the boss starts, go manual. If the fight stabilizes into a pattern and you’re cruising, you can hand a few trash phases back to auto, then retake control for thresholds.
MP, status, and item management that auto-battle tends to ignore
Auto-battle sees the now, not the next corridor. That means you should pre-emptively top off MP at safe points and ration costly spells for bosses. Carry cheap heals for overworld chip damage and reserve strong items for emergencies. If a dungeon leans on poison or sleep, pre-equip immunity accessories rather than trusting reactive cures—one avoided ailment saves multiple turns. Get in the habit of “pre-healing” before chest rooms or suspicious forks; the script won’t do that, but you can, and it prevents cascade failures where everyone is healing instead of attacking. Small, boring habits like these turn long runs from coin flips into clockwork.
Gear priorities and shop routing to reduce grind time
Weapons first, then armor for the party member who draws the most aggro, then accessories that plug your biggest risk. Shop routing matters: buy the single step-change item that flips two-round kills into one-round kills; that alone slashes encounter time and MP spend. If two items are close, choose the upgrade that improves reliability—higher accuracy or status resist beats a flashy but inconsistent bonus. Sell duplicate drops early to accelerate key purchases; gold sitting in your bag isn’t making fights shorter. With this approach, auto-battle feels better because you’ve engineered fights to end before it makes poor choices.
Risk management: reading danger cues and bailing out in time
Watch for three cues: repeated misses against evasive enemies, multiple party members at yellow HP with a caster still alive, or back-to-back crits from bruisers. Any two cues mean it’s bailout time—manual control, guard, stabilize, or flee if allowed. In dungeons, set a hard rule like “If I use more than half my healing items before the midpoint, I reset.” It’s not defeatist; it protects time. The creators themselves hint at caution: the design invites you to feel a little unsafe in routine battles so you stay engaged. Lean into that tension by setting tripwires and respecting them.
Post-credits and late-game grind ideas without mindless repetition
Late-game leveling should feel like a cadence, not a chore. Combine auto-battle loops in high-yield areas with manual bursts for elite packs that drop rare materials or high gold. Rotate equipment sets: a “grind” set for speed, and a “boss” set for mitigation and damage. If a route starts to feel stale, it usually means you’re over-killing; push into the next tier, test the waters manually, and if fights settle into two rounds or less, give them back to auto. That rhythm keeps momentum and avoids burnout, especially if you’re chasing optional challenges or cleaning up best-in-slot gear.
Quality-of-life upgrades in HD-2D that impact combat pacing
The remake layers modern conveniences onto a classic frame: faster animations, clearer UI, and the tactics/auto blend that trims the time between meaningful choices. That combination makes revisiting the Erdrick saga feel brisk while keeping the decision moments intact. Streaming between zones and snappier transition times also reduce the dead air around encounters, which in turn encourages short leveling sessions that still move the needle. It’s the best of both worlds: the charm of the originals with pacing that respects your time.
Platform notes for Switch and Switch 2 players
On both Switch and Switch 2, the auto-battle benefits are the same, but performance and convenience can differ by platform and version. If you’re on Switch 2, expect smoother transitions and faster loads that make short grind loops more comfortable. Be aware of version differences and how saves and editions are handled across platforms; plan your run on the system where you’ll spend most of your hours. Regardless of hardware, the strategy doesn’t change: use auto for routine cleanup, then swap to manual for bosses, scripted elites, and any encounter that spikes status threats.
Wrap-up: a simple plan you can follow tonight
Here’s the quick blueprint. Set conservative tactics, favor single-target pressure, and define MP thresholds. Gear for reliability, not flash. Choose loops where fights end in one to two rounds and status is rare. The moment you see multiple casters, heavy crits, or stacked ailments, switch to manual and stabilize. Before bosses, run the checklist: damage floor, status answers, opener, variance plan, and revival items. Hand control back to auto once the pattern is safe. Follow this plan and the grind melts, bosses fall cleaner, and you keep the best part of Dragon Quest intact—the thrill of out-thinking a nasty fight—while skipping the busywork.
Conclusion
Auto-battle is a tool, not a crutch. Use it to clear the road, then jump in the driver’s seat when the turns get sharp. With smart tactics, sensible gearing, and a few tripwires, you’ll level faster, spend less time stuck, and keep the series’ signature tension right where it belongs: in the big fights where every decision counts.
FAQs
- Is auto-battle safe to use all the time? — It’s safe in low-risk zones where enemies fall quickly and don’t stack status. The moment you see casters, heavy critters, or multiple ailments, take manual control to avoid spirals.
- What tactics settings help most? — Conserve MP below half, favor single-target attacks, restrict AoE to certain one-cast kills, and block revives on trash fights. Add a defend rule when two allies are in the red.
- How do I prep for bosses without over-grinding? — Buy one big weapon upgrade, carry status cures, script your opening turns, and pack two revives. Run a short loop to confirm you’re landing reliable damage, then go fight.
- When should I change gear for dungeons? — Wear general mitigation in routine zones, then switch to resistance pieces if a dungeon heavily uses one ailment or element. Accessories that boost agility or resist status are huge.
- Does platform choice change strategy? — The approach is identical. Faster hardware smooths loading and pacing, but the same auto-to-manual blend, tactics thresholds, and boss prep apply on Switch and Switch 2 alike.
Sources
- Dragon Quest I & II HD-2D Remake devs share the best way to make use of the auto-battle system, GoNintendo, November 5, 2025
- Dragon Quest I & II HD-2D Remake devs drastically improved the auto-battle system, Automaton Media, November 6, 2025
- JRPG grind is dead… devs say players may still be in trouble if they get careless, GamesRadar, November 7, 2025
- DRAGON QUEST I & II HD-2D Remake is out today!, Square Enix, October 30, 2025
- DRAGON QUEST I & II HD-2D Remake (Nintendo Switch 2 page), Nintendo, October 30, 2025


